 I have always been artistic. Even as a teenager, I always had more fun crocheting clothes for my Barbie’s than I did actually playing with them. When I became an adult, I discovered digital art and fell in love with the medium. For a time, I was a digital artist and sold my work online to different groups. They digital art was used for email signatures, website design, and even print in a few cases.
Here is an example of a popular digital doll I created a while back. Each detail was drawn one pixel at a time in a program called Paint Shop Pro. It takes hours to get the pixels just right, so you can see the highlight, shading and detail work.
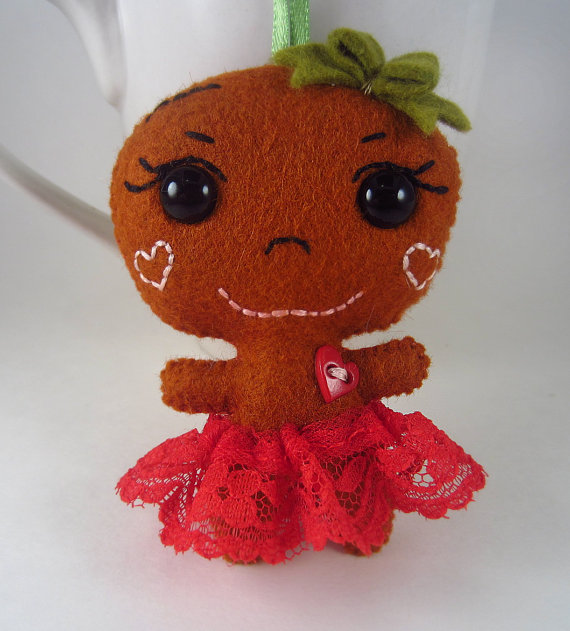
I’ve always loved learning new things, and exploring new artistic mediums. About 2 years ago, I started making plushies with felt. I was instantly hooked! When I make my plushies, not only do I sew everything by hand, but I also design them as well (using my digital doll drawing skills). I usually start with a digital “sketch” of the doll or animal I want to create, and then use that as my pattern. The designs can take anywhere from hours to days to complete before a piece of felt is even cut.
 Once I have my design done, I cut out the pieces and do a test run with craft felt. This gives me a base to start with to see if my pieces all fit together, or if the pattern needs to be altered. Sometimes, I sell the patterns for other people to use, and some of them are just for my use. If I choose to sell a pattern, I take pictures of the process. I even created a few different YouTube videos of how to do the different hand stitches.
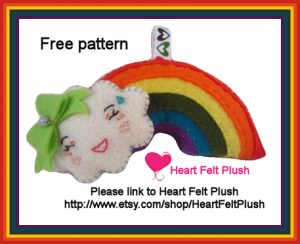
If you’d like to see one of my patterns, I have a free one available on Craftsy. You can download the tutorial and pattern pieces, and there are even links to my YouTube tutorials included. Download the PDF pattern here: http://www.craftsy.com/pattern/sewing/toy/free-rainbow-cloud-plushie/95696
Now that I have my base complete, it’s time to start using the good felt to create the doll. After all the
pieces are cut out, I start stitching. Every piece is hand stitched and only use a sewing machine for the
clothing (sometimes). I usually start with the face, and either embroider everything or use safety eyes,
with embroidery details. The doll is then stuffed, dressed and ready for her photo shoot. This process
can take anywhere from 5 to 8 (or more) hours, depending on the complexity and size of the doll.
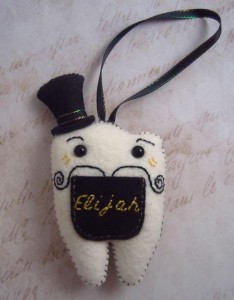
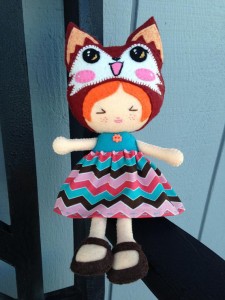
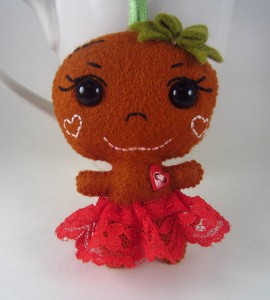 Another aspect of running an Etsy store; not only do you have to be creative and have a product to sell, you also have to know how to photograph, market and advertise. Once a doll is ready, I use my camera and photo box to get the best possible shots. Since a buyer cannot physically touch the item, it is important to show all details. After the photos are taken, it’s time to edit and clean them up. Once in PSP, they get cropped, highlighted and touched up if needed. Now they are ready to be listed. Most of my items are customizable, so I create “made to order” listings. With all the color and skin tone choices, plus any personalization (name, etc…) it really is the only way I can sell my items.
I hope you enjoyed this little “peek behind the curtiain” and hope that you will understand that when you buy handmade, not only are you buying an item, you are also buying something that someone put their love, time and heart into. Handmade items are more personal, and special than anything you can find at a local retailer.
Thank you for reading!
HeatherD Owner: Heart Felt Plush
You can email me at heartfeltplush@yahoo.com
